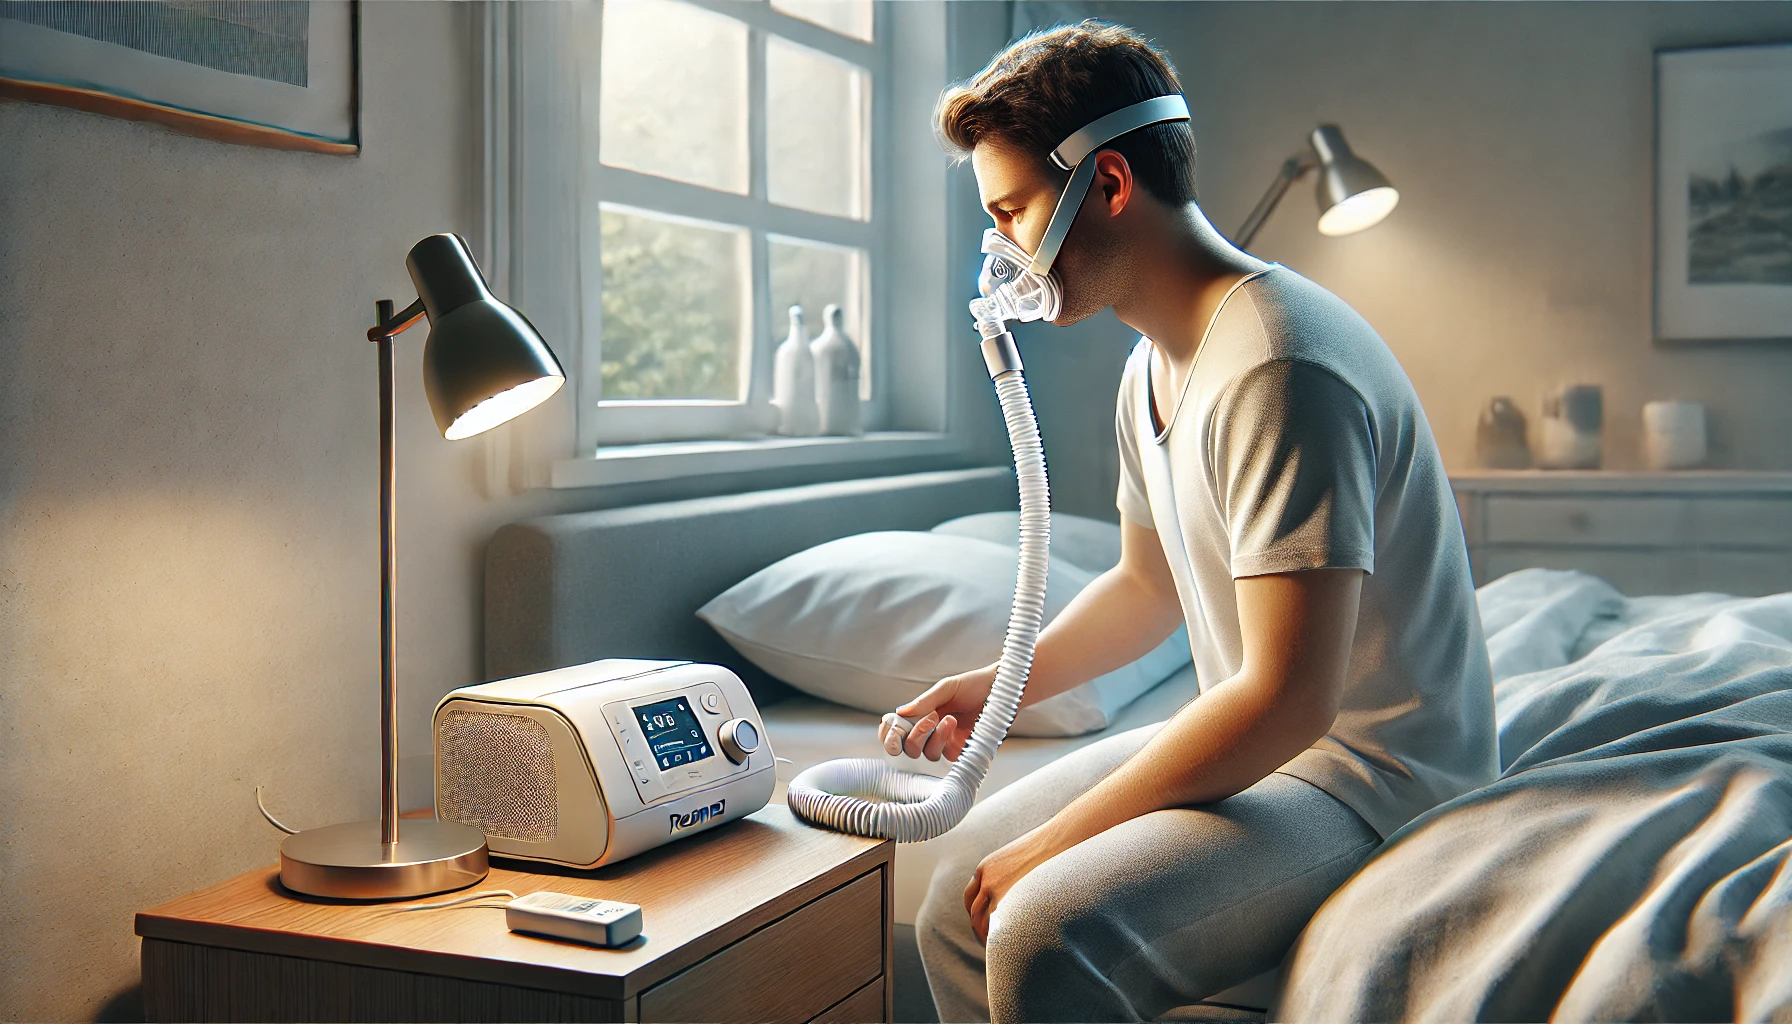
Setting up your CPAP machine correctly ensures you get the full benefit of therapy from the very first night. Follow these straightforward steps to unbox, assemble, configure, and test your device with confidence.
1. Unboxing Your CPAP Machine
When your CPAP delivers arrives, open the box and confirm you have:
- The CPAP unit with power cord
- Humidifier chamber (if included)
- Hose/tubing
- Mask system (mask, cushion, headgear)
- User manual and quick‐start guide
Inspect each component for damage. If anything is missing or broken, contact your supplier before proceeding.
2. Attaching the Humidifier
If your model includes a humidifier:
- Slide the water chamber into the humidifier bay until it clicks.
- Fill the chamber with distilled water up to the indicated fill line—never exceed it.
- Close the chamber lid firmly to prevent leaks.
Humidification prevents dryness and irritation, especially if you live in a low‐humidity climate.
3. Connecting the Hose
Attach one end of the flexible tubing to the CPAP’s air outlet port. Press gently until it forms a snug seal. Connect the other end to the mask elbow or swivel connector. Ensure there are no kinks, stretches, or sharp bends in the hose, as these can restrict airflow.
4. Preparing & Fitting Your Mask
Choose the mask type that best suits your breathing style:
- Nasal mask: Covers nose only
- Full‐face mask: Covers nose and mouth
- Nasal pillows: Fit just inside nostrils
Adjust the headgear straps so the mask sits comfortably without gaps. The cushion should rest lightly against your face; tighten straps just enough to eliminate leaks without causing pressure marks.
5. Powering On & Initial Configuration
Plug the CPAP into a grounded outlet and switch on the unit. Most machines run an automatic start‐up self-test: you’ll see lights illuminating and hear a soft motor whir. Navigate to the settings menu to confirm:
- Prescribed pressure (e.g., 10 cmH₂O)
- Ramp feature enabled (if you prefer gradual pressure increase)
- Humidity level (set between 2–5 for comfort)
If your device has a color display, use the dial or touch buttons to adjust each setting as per your prescription.
6. Performing a Leak & Pressure Check
With the mask on and the device running:
- Lie down in your usual sleep position.
- Scan your face perimeter for escaping air.
- Fine-tune headgear straps until airflow is smooth and uninterrupted.
Many machines display a leak rate in L/min—aim for values below 24 L/min for optimal therapy.
7. Cleaning Prior to First Use
Before your first night:
- Wash mask components and tubing with mild soap.
- Rinse thoroughly and air-dry away from direct sunlight.
- Wipe down the machine exterior with a damp cloth (avoid water entry into vents).
This ensures removal of manufacturing residues and promotes hygiene.
8. Optimal Machine Placement
Position your CPAP:
- On a stable bedside table
- At or slightly below head level to prevent water from backing up into the hose
- Away from obstructions—leave at least 6 inches clearance around air intake vents
Proper placement reduces noise transfer and minimizes hose drag as you turn in sleep.
With these steps—unboxing, assembly, configuration, and testing—you’re all set for a comfortable first night with your CPAP. Sweet dreams start with correct setup!
