Proper setup of your home sleep test device ensures accurate data collection and a smooth testing experience. Follow these simple steps to get ready for your study night.
1. Unbox & Verify Components
Open your shipment and confirm you have:
- The recorder unit (with power cable)
- Breathing sensor or nasal cannula
- Chest belt for respiratory effort
- Pulse oximeter clip
- Pre-paid return mailer and instructions
If any component is missing or damaged, contact support before proceeding to avoid delays.
2. Charge & Power On
Plug the recorder into a wall outlet and wait for the battery LED to turn solid green. To start:
- Hold the power button for three seconds.
- Watch for a brief beep and LED sequence indicating self-test completion.
The recorder is now in standby mode, ready for sensor connection.
3. Attach Your Sensors
Sensor placement is key to clear signals:
- Nasal Cannula: Position gently in each nostril and loop over the ears.
- Chest Belt: Wrap snugly around your lower ribcage, ensuring the belt sensor clicks into place.
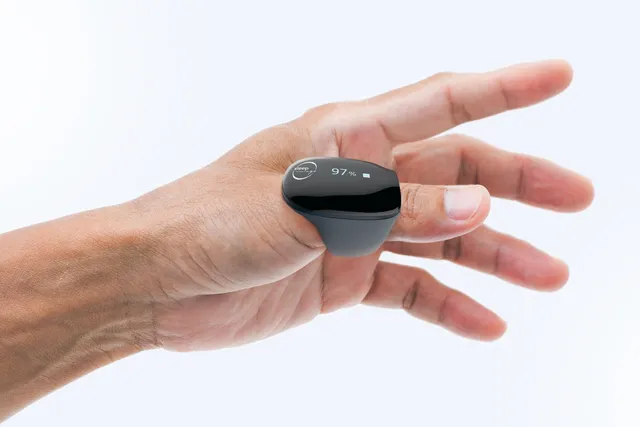
- Oximeter: Clip onto your index finger—avoid nail polish or artificial nails.
Check in a mirror: tubing should lie flat without kinks, and all plugs must be fully seated.
4. Position the Recorder
Place the recorder unit on your bedside table no more than two feet from your pillow. This proximity helps maintain strong sensor connections and clear data capture.
5. Start Recording
Press the power button once to begin the sleep study. A slow blinking blue LED indicates active recording. Lie down and go to sleep as usual—do not remove sensors until you finish.
6. End & Pack Up
In the morning:
- Press the power button once to stop recording (all LEDs will turn off).
- Gently remove sensors and coil tubes without stretching.
- Place everything back into the original foam insert and secure the box.
7. Return Your Device
Affix the pre-paid label, seal the box, and drop it at any shipping outlet. Tracking is included, so you can confirm delivery. Once received, our lab will process your data and prepare your report.
By following these steps—unboxing, charging, sensor placement, recording, and return—you’ll help ensure a successful home sleep test and accurate insights into your sleep patterns.